Project Setup
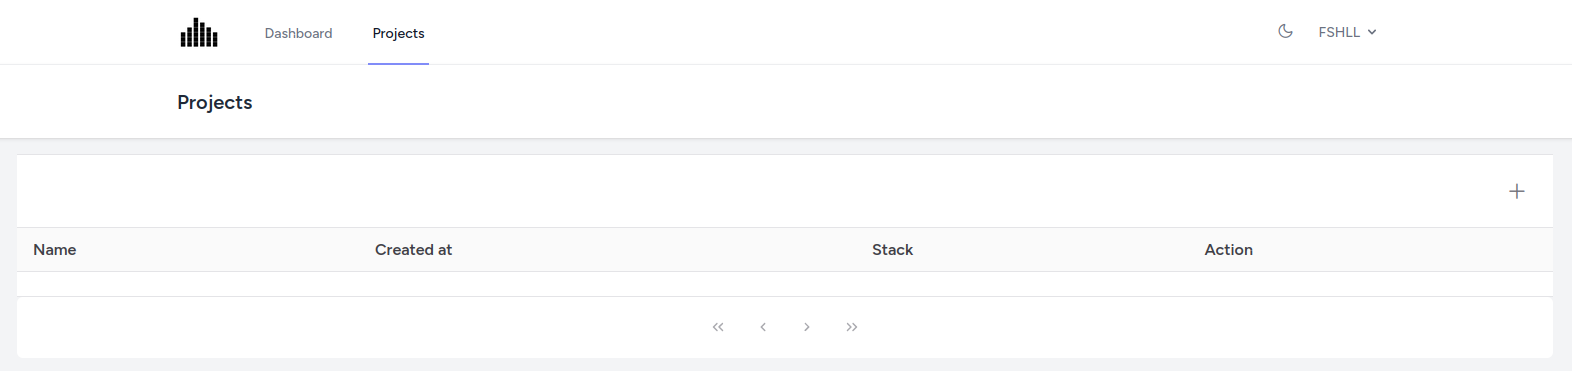
When you access the projects page, you will find a button with the icon '+'. Clicking on it will open a window to create a new project
Create Project
Creating a project is very easy, as it will only ask you for a name and the stack (Present in your AWS Account) you want to use.
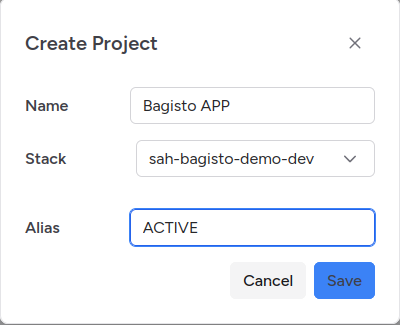
Fields:
- Project Name
- Stack: AWS Cloud formation Stack (this stack is created for serverless framework for associate all project resources).
- Alias: Alias defined in the SAH Plugin custom config
custom:
    sah:
        activeAliasName: 'ACTIVE'
        ---
Once the project is created you can see them in the list

Project description
When you enter the description you can see the lambda functions of the project, associated alias and its version.
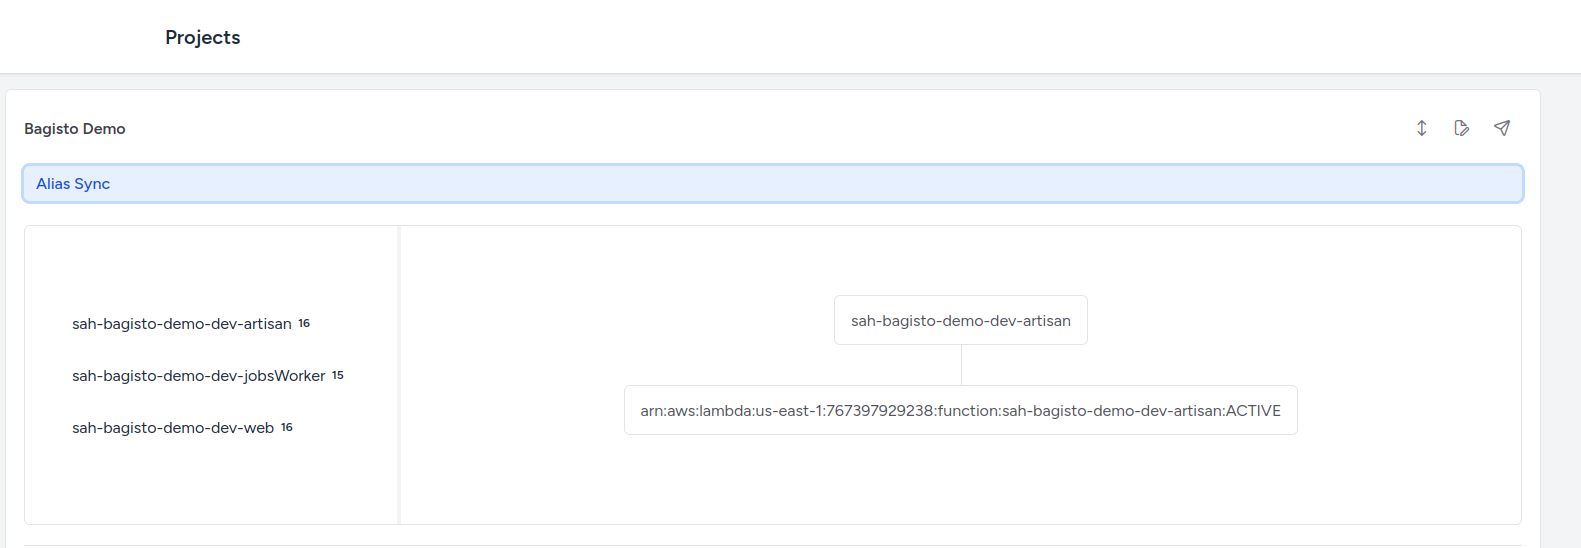
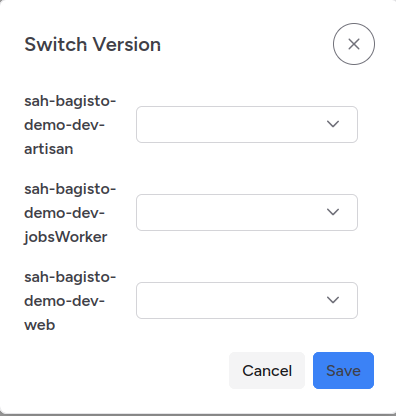
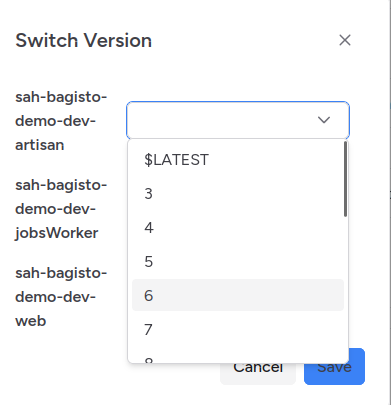
Manual Rollback
In the upper right corner you will find the first option where you can perform a manual rollback on the available versions of your lambda functions, simply select the version you want your lambda function to work with.
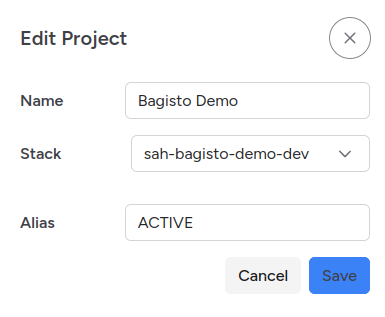
Edit project
In the upper right corner you will find the second option where you can edit the project if necessary.
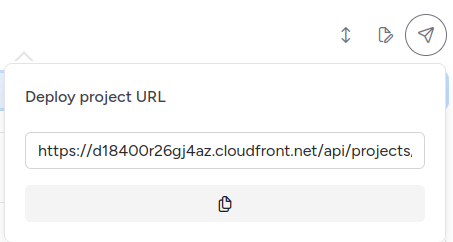
Deployment URL
In the upper right corner you will find the third option where you can see and copy thee project deployment URL, with this url you can add a extra config to the sah plugin in your serverless.yml file for notify to SAH a new deployment.
custom:
    sah:
        sahUrl: 'http://{app_url}/api/projects/{project_id}/deployments'
        sahToken: ${env.SAH_TOKEN}
        ---
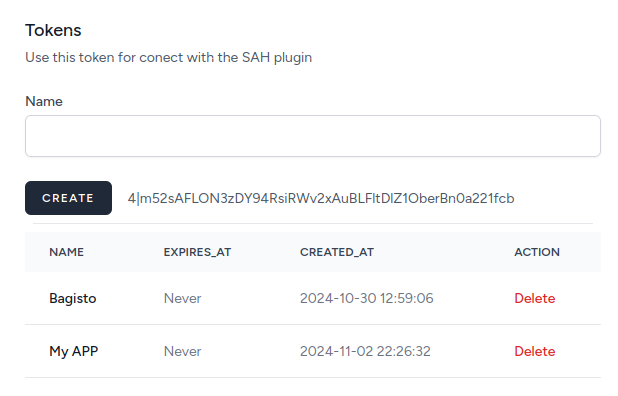
SAH Token
You can obtain this token in the “Tokens” section of your profile.
Rollback from deployment
With your sahUrl and sahToken for each deployment a record will be stored in the application, we can use it to backtrack more easily.
